Showing posts with label chalk cloth. Show all posts

Wednesday, August 3, 2011

YOU Choose the Next Giveaway Prize!

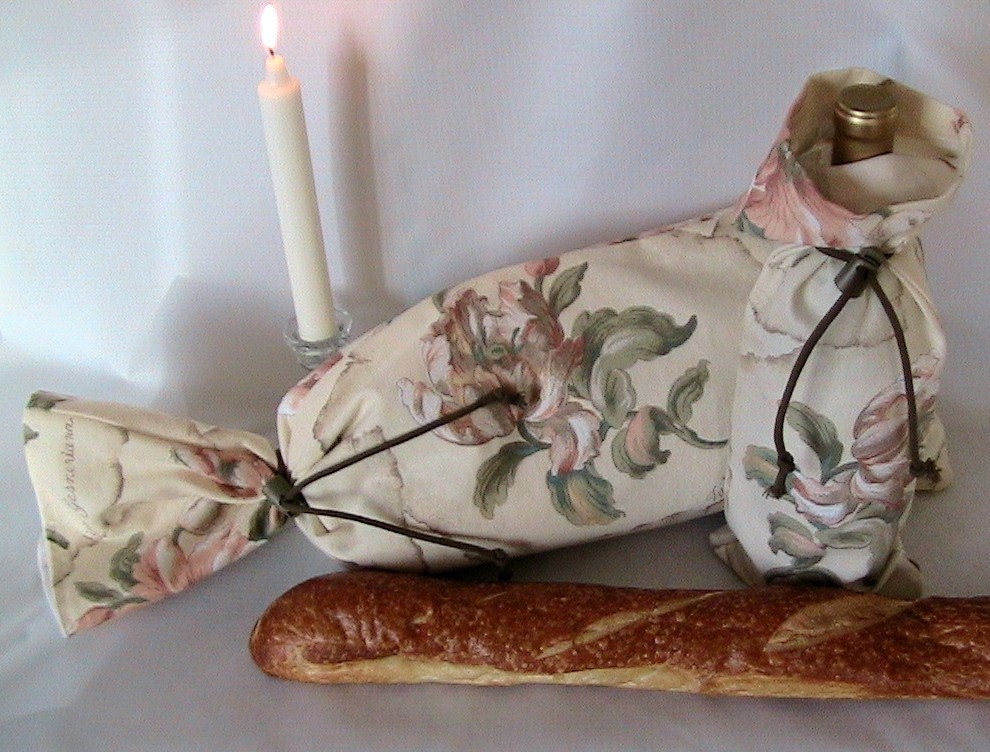
Hey!  Answer the poll in the right margin as to what you would like to see for my next giveaway prize.   Pics of the prizes below:

The item with the most votes will be the prize for the giveaway starting on August 7, 2011.

Tuesday, August 2, 2011

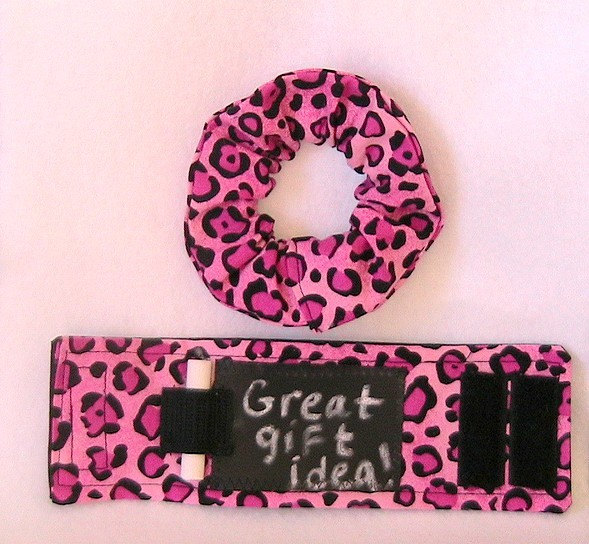
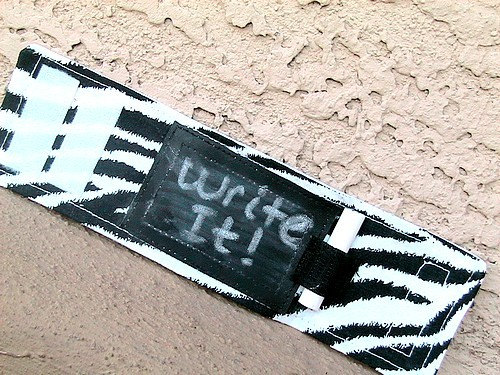
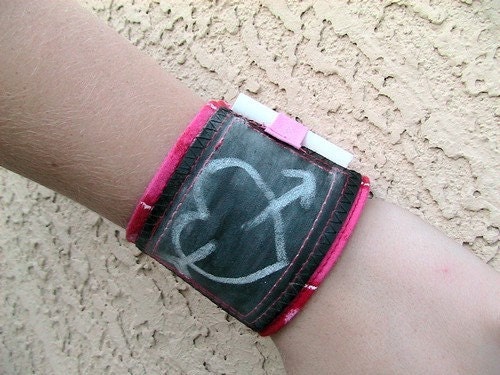
Chalkboard Bracelets are COOL!

Last month I went through a spurt where my shop sold a lot of Chalk Cloth Bracelets so I checked the stats to see where the traffic was coming from and it was coming from here:
Rusty Rooster Vintage   
It is a delightful blog where Vicki featured my Chalk Cloth Bracelets after buying them for her girls from my Etsy shop and nothing tickles me like being featured on a really cool blog.  So take a few minutes to check out her blog by clicking the link above and then click the link below to check out my chalk cloth bracelets.


 By the way, these were designed by my 9 year old son.  He's pretty clever, huh? 
Chalk Cloth Bracelets 

Monday, August 1, 2011

WHAT? Another Giveaway???

Yep!  This one is a facebook giveaway.  Here's the rules:


1. If you have already "Liked" my facebook page you are    entered.
2. If you become a fan by liking my facebook page, you are entered. 
Click here to go to my facebook page!


3. If you leave me a comment on my Facebook page telling me your favorite thing to do in summer you get an extra entry.


4.  Contest ends August 5, 2011 at midnight. 


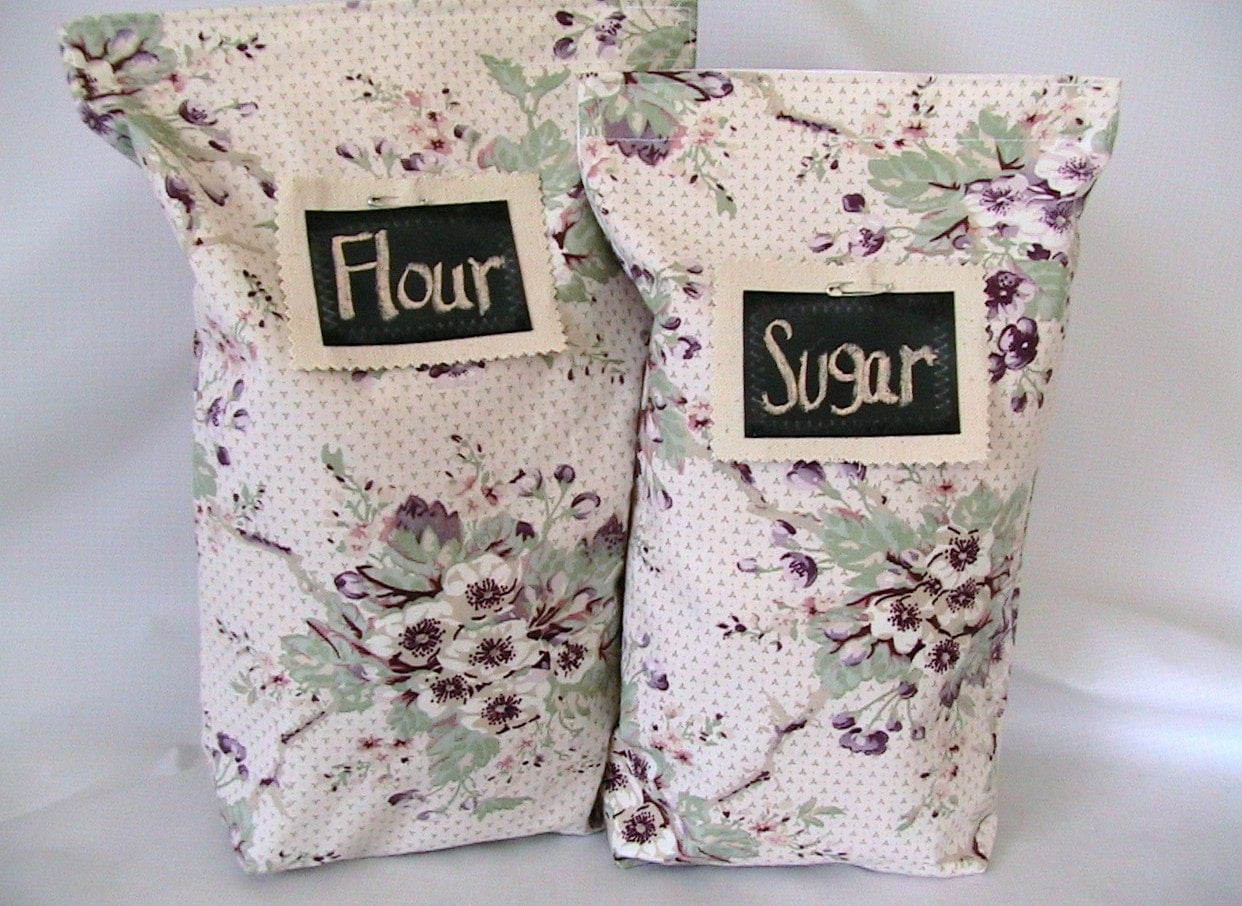
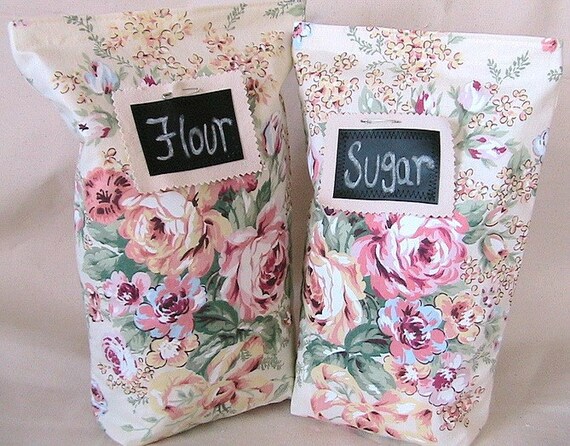
The prize? A pair of Shabby Chic Roses on Yellow Flour and Sugar Bags with Chalk Cloth Tags.


New Giveaway!

I had so much fun doing the Shark Week Giveaway that I want to do another Giveaway!  This one is for Back To School.
Here's how it's going to go down:
1.  If you are following my blog, you are automatically entered.  You don't need a blog to follow me, just a Twitter, Google, or Yahoo account.
2.  If you join as a new follower you will be entered.
3.  If you leave a comment on this post about why you love or hate back to school, you will get an extra entry.
4.  If you get someone else to follow my blog, you will get an extra entry.  Just make sure I know you sent them.
The prize?
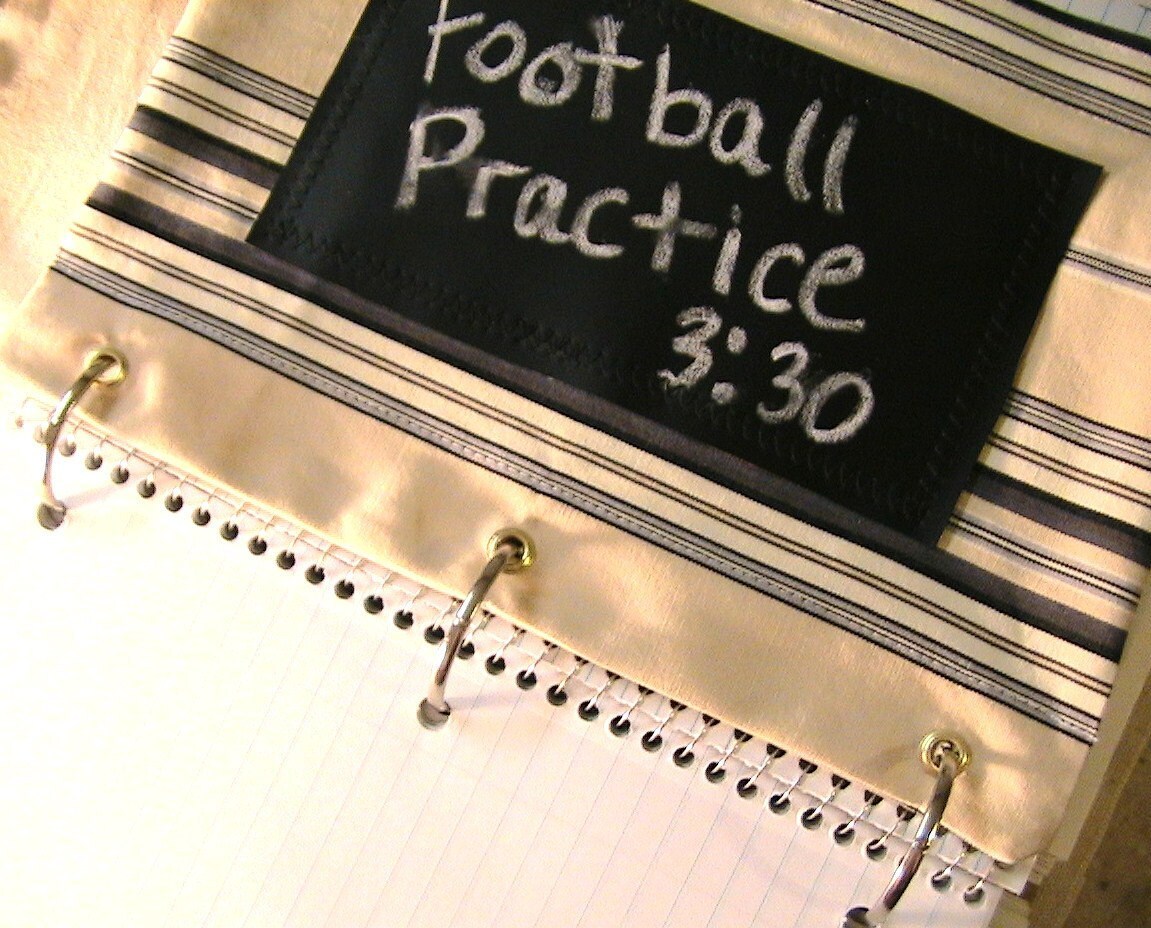
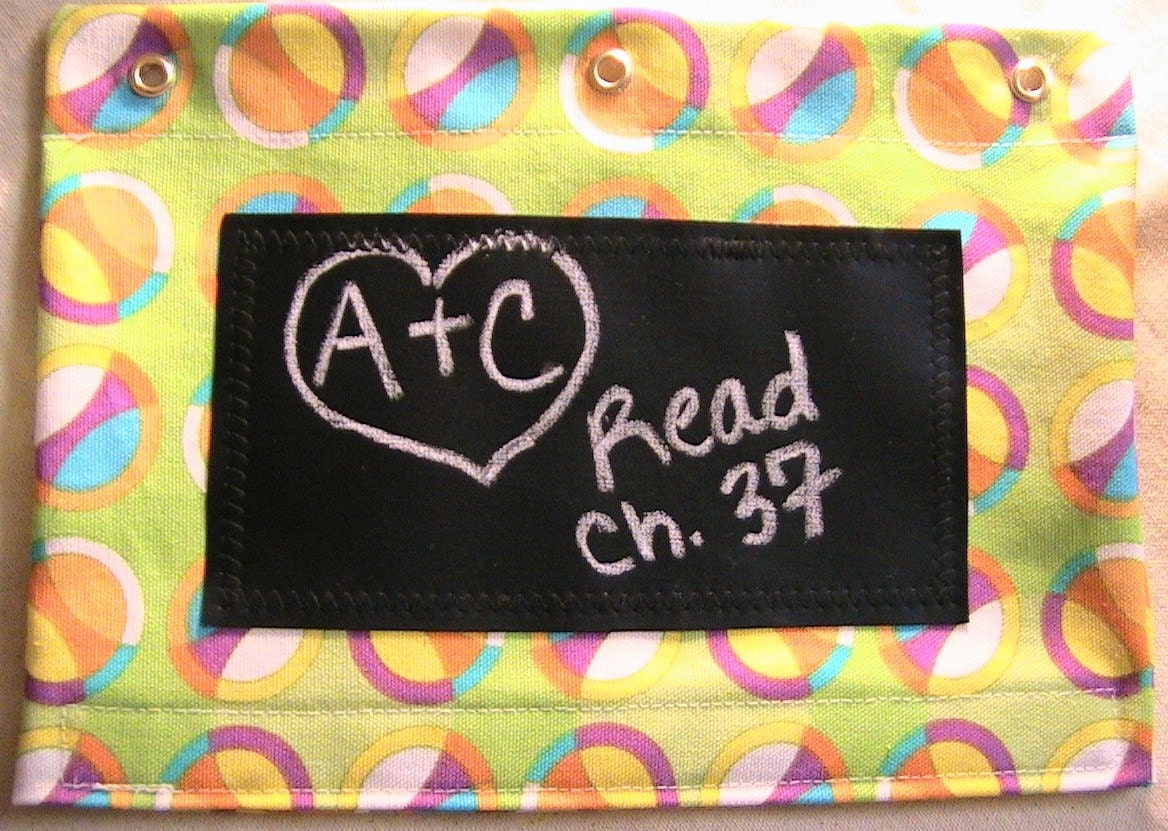
Your choice of a Chalkboard Pencil Pouch.  I have them in a few designs right now and hope to add more before the contest ends on August 5th at midnight.


Sunday, April 10, 2011

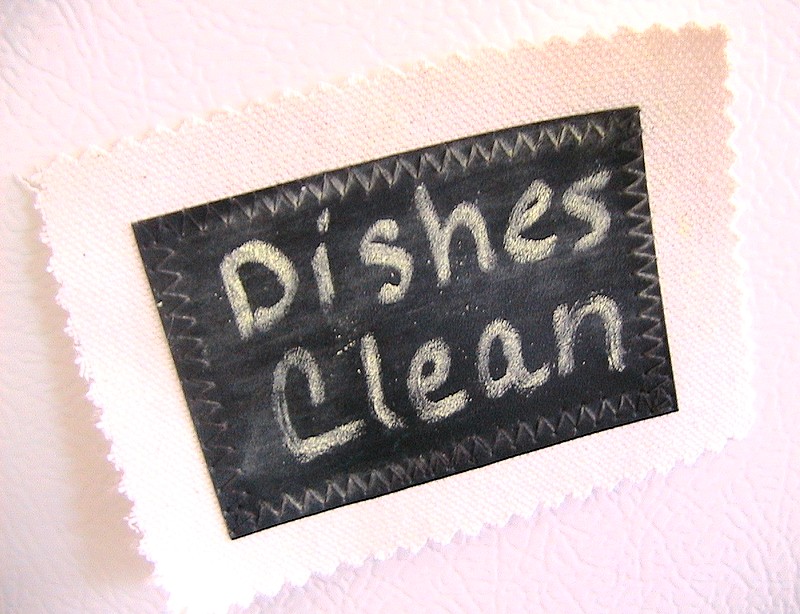
Quick and Easy Chalk Cloth Tags

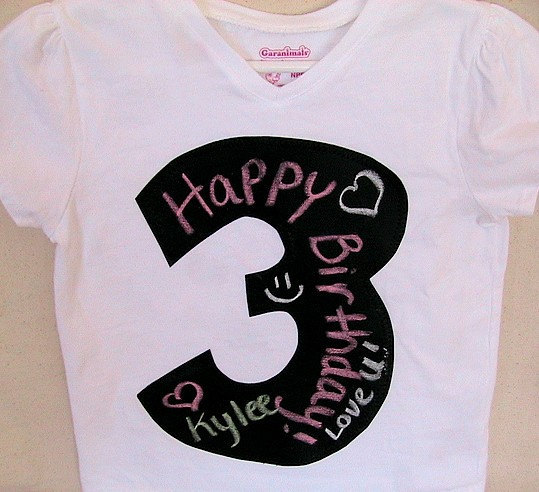
How about we start the work week with a little tutorial?  If you haven't checked out Chalk Cloth (aka Chalkboard Fabric, Blackboard Fabric) let me just tell you that it is pretty cool stuff.  You can get it at JoAnn's for about $5.00 a yard.  It's an oilcloth and you can do all kinds of fun projects with it.

Here's one fun project that you can whip up in a jiffy.

What you'll need:  Chalk Cloth (how much depends on how many tags you're making and how big they'll be)
                                 A decently heavyweight canvas (again how much depends on how many and how big.)
                                 Pinking Shears (aka Alligator scissors)
                                 Black Thread


If you bought a big piece of chalk cloth, you might want to cut it down into more manageable squares, like 12x12 or so.  If it's a little wrinkled or creased, you can quickly glide a warm (not cotton hot) iron across the back.  Be careful, it WILL melt!


Cut your chalk cloth into 2x3 rectangles, or whatever size you want them to be.  I have found 2x3 to be a perfect size for tags.  I also use a rotary cutter because it gives straighter edges, but it's not necessary.


Now take your canvas and iron it if you need to.  Then cut it into rectangles that are slightly (like a 1/2 inch on all sides) larger.  Don't worry about even edges, we'll finish trimming later.


Set your machine to a zig zag stitch.  I set my width at 4 and my length at 2.  Zig Zag around all 4 sides.  The chalk cloth may slip slightly, that's why we do the final trimming at the end.


Now all that's left is to trim the edges with your pinking shears!  Pinking shears help to prevent fraying and it looks cute, too.


You will need to prime your chalk cloth before you use it.  This is simple.  Lay the chalk on it's side and rub it all over the surface until it's completely covered.  Wipe clean with a dry cloth.  It's ready!


How you attach your tag is completely up to you.  I just use a little safety pin when attaching it to fabric.  You can turn it into a magnet by using a spray adhesive to attach a thin magnet to the back of the whole tag.  You could also attach a ribbon loop if your planning on hanging it from a drawer knob.  Use your imagination!


Wednesday, April 6, 2011

Giveaway!

Love Hate Reviews just wrote an AWESOME review of my shop.  Click here to read it and to find out how you can win my fabric flour and sugar bags with matching towels and oven mitt!
http://lovehatereviews.com/love-threadbarestitcher-review-and-giveaway/04-06-2011/

Visit the link above for a chance to win this set!