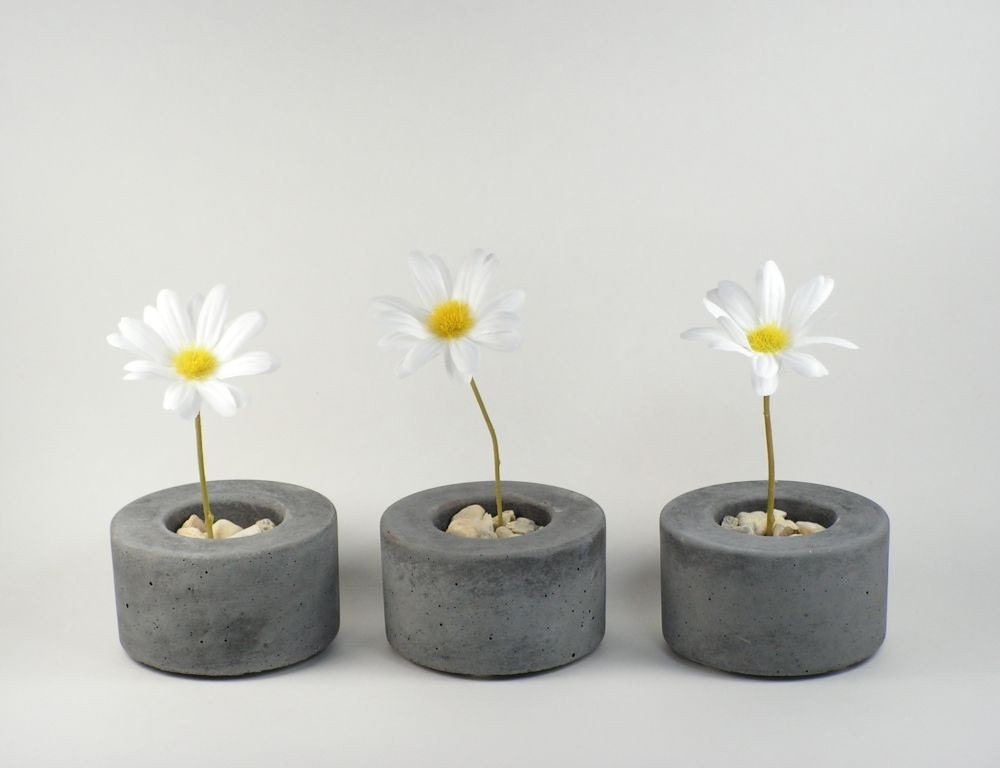
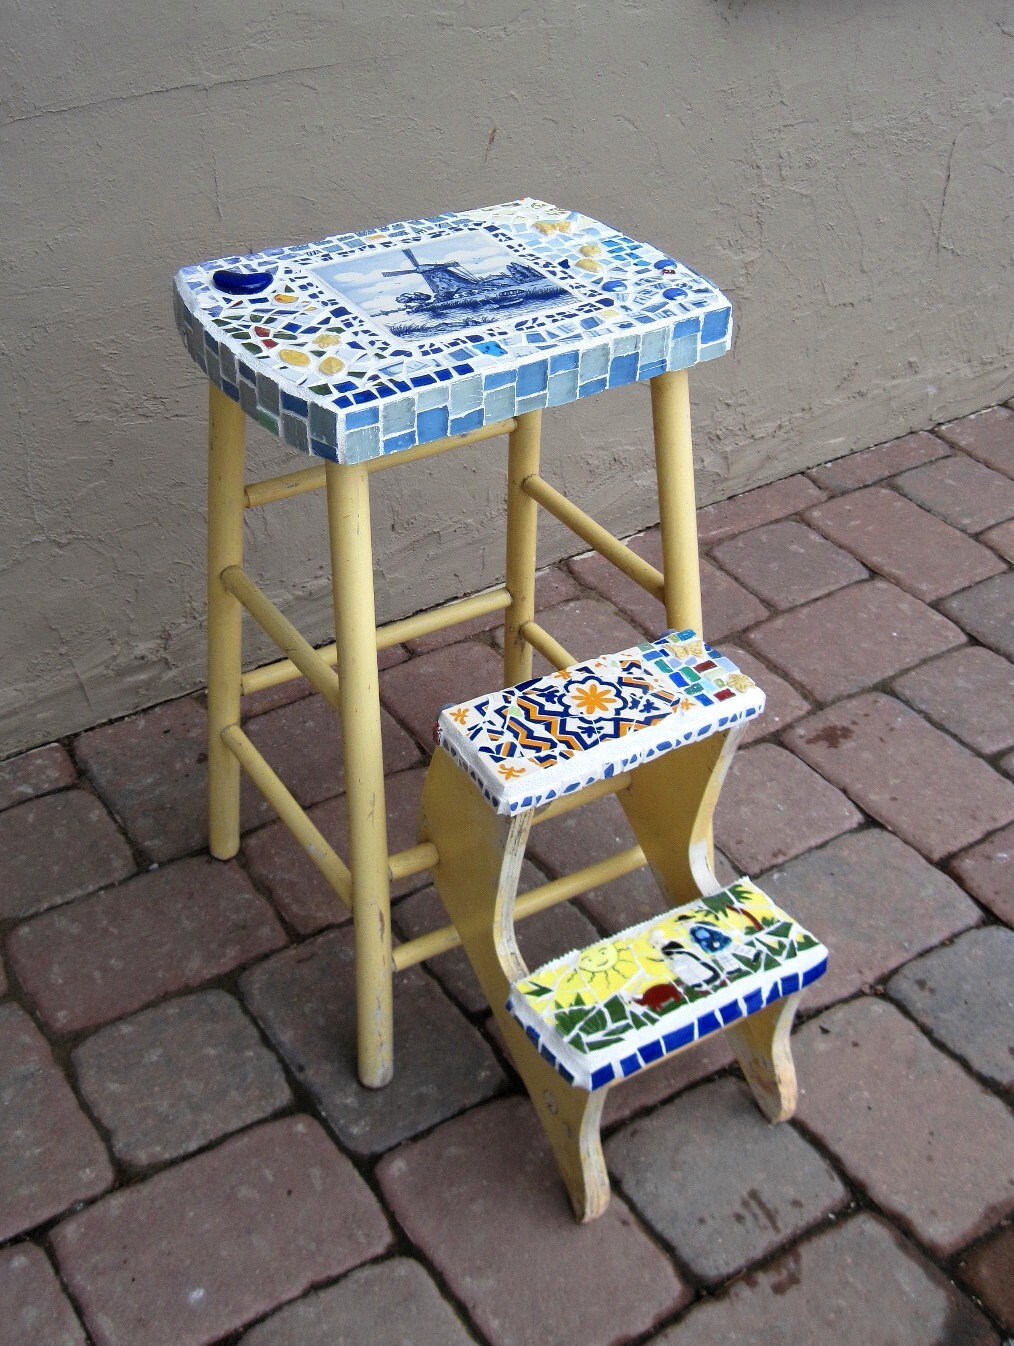
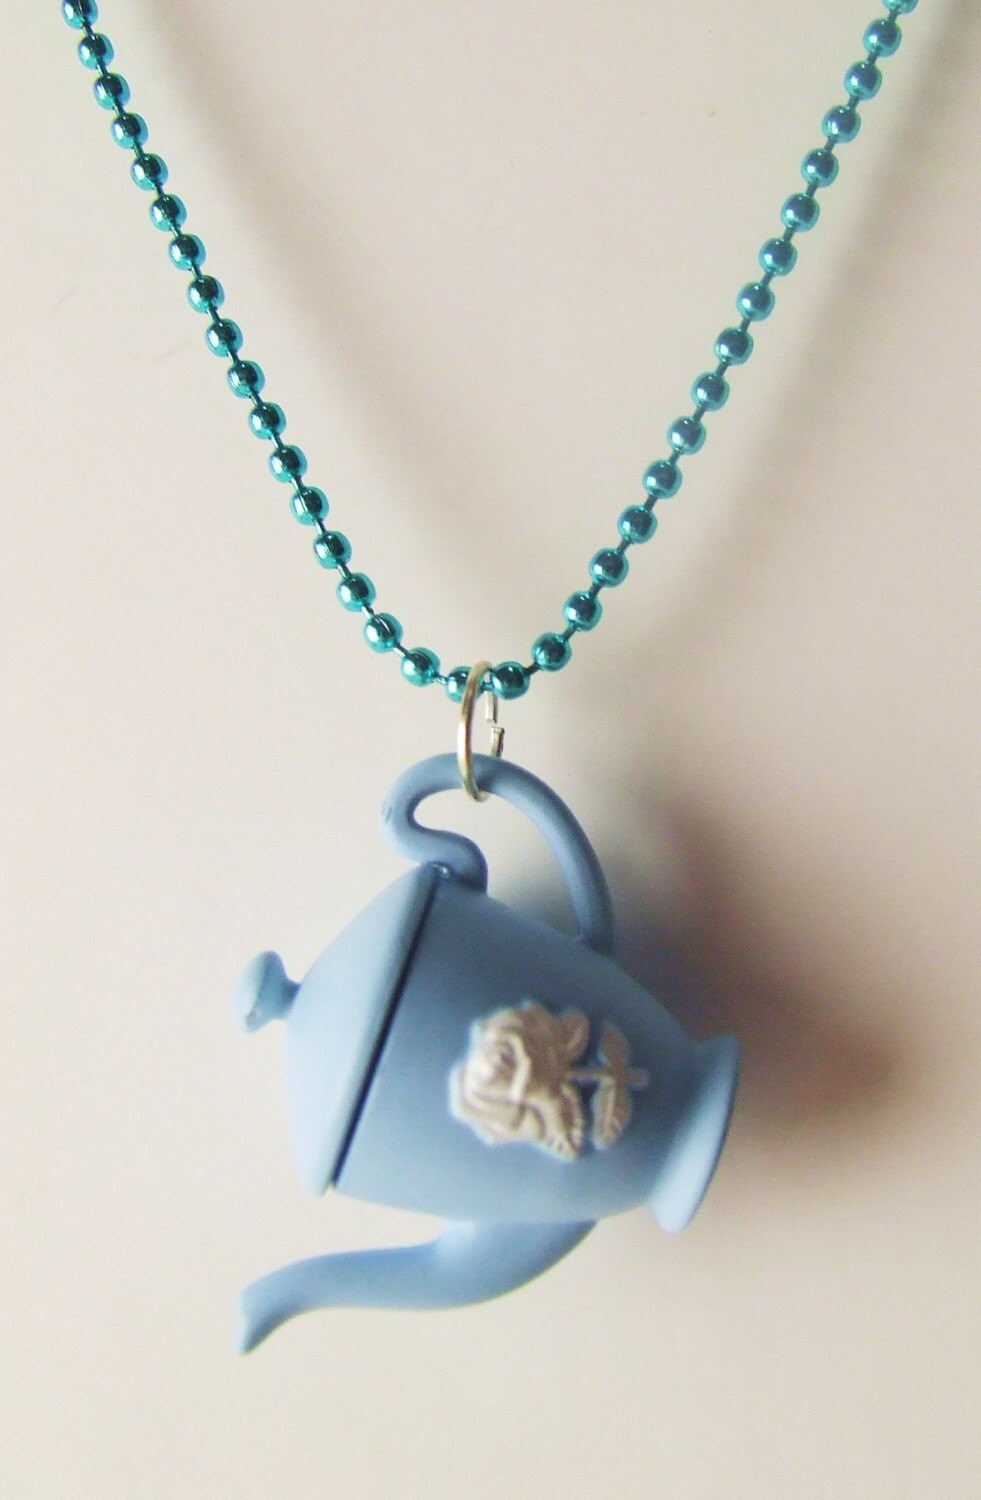
I love it when I find something super cute, unique, and creative on Etsy. Check out these little concrete pots by roughfusion.
http://www.etsy.com/listing/70456214/mini-round-concrete-pot-set-of-3
Monday, April 18, 2011
Tuesday, April 12, 2011
Awesome Artist
Check out this very cool artist who just opened an Etsy shop. She makes her animals from cloth.
http://www.etsy.com/shop/BagelIslandcreations?ref=pr_shop_more
http://www.etsy.com/shop/BagelIslandcreations?ref=pr_shop_more
Monday, April 11, 2011
Adorable Treasury
If you're not familiar with Etsy, then you are missing out on alot. One of the neatest things about Etsy is the member currated galleries called "Treasuries." Anyone can make a treasury, usually based on a theme, of cool items for sale in Etsy shops. Here is a link for one of these treasuries in which my Happy Flowers Flour and Sugar Bags are featured along with some other fabulous finds. The title is Kitchen Couture and it was currated by designing life.
http://www.etsy.com/treasury/4da290bfbd1e6d91a920a204/kitchen-couture#4da3c2f43cb36d919bb6d948
http://www.etsy.com/treasury/4da290bfbd1e6d91a920a204/kitchen-couture#4da3c2f43cb36d919bb6d948
Sunday, April 10, 2011
Quick and Easy Chalk Cloth Tags
How about we start the work week with a little tutorial? If you haven't checked out Chalk Cloth (aka Chalkboard Fabric, Blackboard Fabric) let me just tell you that it is pretty cool stuff. You can get it at JoAnn's for about $5.00 a yard. It's an oilcloth and you can do all kinds of fun projects with it.
Here's one fun project that you can whip up in a jiffy.
What you'll need: Chalk Cloth (how much depends on how many tags you're making and how big they'll be)
A decently heavyweight canvas (again how much depends on how many and how big.)
Pinking Shears (aka Alligator scissors)
Black Thread
Here's one fun project that you can whip up in a jiffy.
What you'll need: Chalk Cloth (how much depends on how many tags you're making and how big they'll be)
A decently heavyweight canvas (again how much depends on how many and how big.)
Pinking Shears (aka Alligator scissors)
Black Thread
If you bought a big piece of chalk cloth, you might want to cut it down into more manageable squares, like 12x12 or so. If it's a little wrinkled or creased, you can quickly glide a warm (not cotton hot) iron across the back. Be careful, it WILL melt!
Cut your chalk cloth into 2x3 rectangles, or whatever size you want them to be. I have found 2x3 to be a perfect size for tags. I also use a rotary cutter because it gives straighter edges, but it's not necessary.
Now take your canvas and iron it if you need to. Then cut it into rectangles that are slightly (like a 1/2 inch on all sides) larger. Don't worry about even edges, we'll finish trimming later.
Set your machine to a zig zag stitch. I set my width at 4 and my length at 2. Zig Zag around all 4 sides. The chalk cloth may slip slightly, that's why we do the final trimming at the end.
Now all that's left is to trim the edges with your pinking shears! Pinking shears help to prevent fraying and it looks cute, too.
You will need to prime your chalk cloth before you use it. This is simple. Lay the chalk on it's side and rub it all over the surface until it's completely covered. Wipe clean with a dry cloth. It's ready!
How you attach your tag is completely up to you. I just use a little safety pin when attaching it to fabric. You can turn it into a magnet by using a spray adhesive to attach a thin magnet to the back of the whole tag. You could also attach a ribbon loop if your planning on hanging it from a drawer knob. Use your imagination!
I've Been Picked!
A lovely little blog (you should follow them if you are at all interested in the world of handmade goodies) featured my Hugs and Kisses Chalk Cloth Bracelet today. Thank you Daily Handmade Picks!
http://dailyhandmadepicks.blogspot.com/2011/04/daily-handmade-pick-chalkboard-bracelet.html?utm_source=feedburner&utm_medium=feed&utm_campaign=Feed%3A+DailyHandmadePicks+%28Daily+Handmade+Picks%29
http://dailyhandmadepicks.blogspot.com/2011/04/daily-handmade-pick-chalkboard-bracelet.html?utm_source=feedburner&utm_medium=feed&utm_campaign=Feed%3A+DailyHandmadePicks+%28Daily+Handmade+Picks%29
Saturday, April 9, 2011
Good Clean Fun
So, if these first few posts have revealed anything about me, it's A. I am hopelessly in love with Etsy. And B. I am very easily amused.
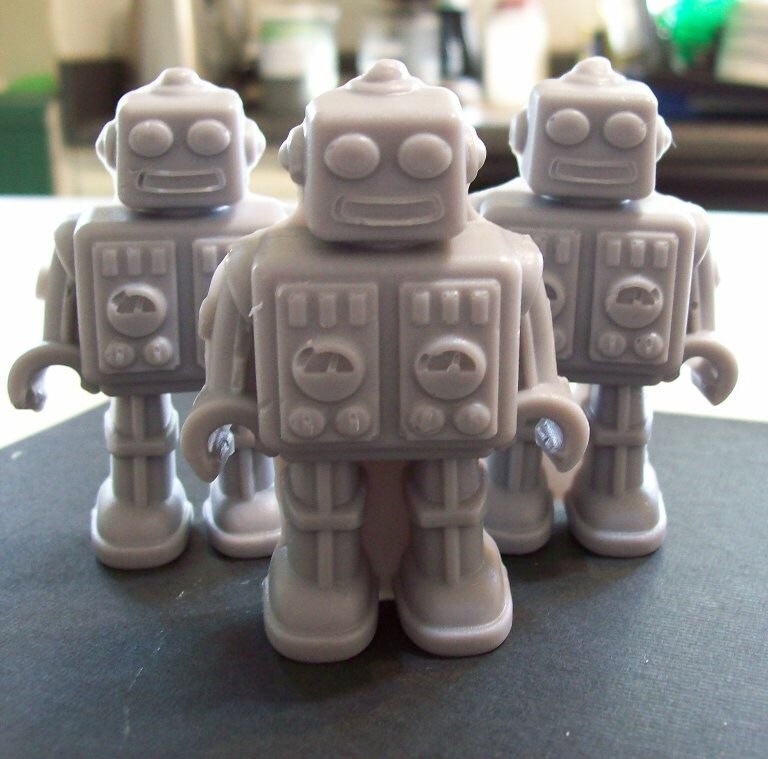
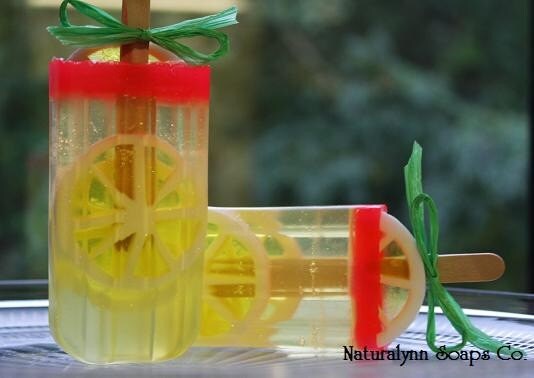
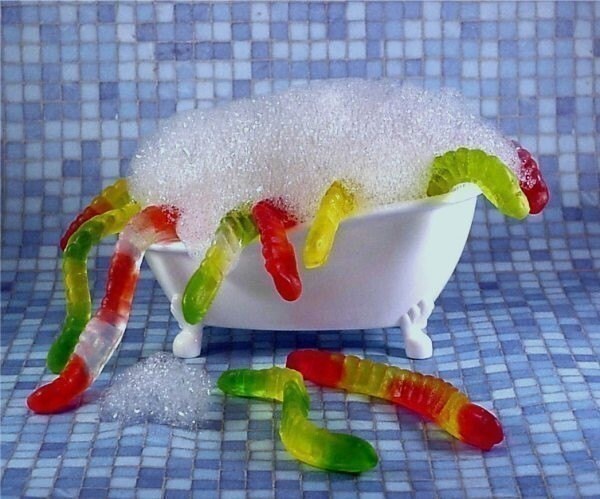
Therefore, let me share a little family secret. You can find soap in the shape of anything on Etsy. I know this because of countless hours of research I have put in (snicker) for my shop. Here are a few examples.
http://www.etsy.com/listing/65985044/soap-bots-we-come-to-you-from-the-future?ref=sr_gallery_10&ga_search_query=robot+soap&ga_search_type=handmade&ga_facet=handmade
http://www.etsy.com/listing/57457441/gooey-brain-cupcake-soap?ref=sr_gallery_3&ga_search_query=zombie+soap&ga_search_type=handmade&ga_facet=handmade
http://www.etsy.com/listing/59328852/raspberry-lemonade-handmade-and-natural?ref=sr_gallery_23&ga_search_query=popsicle+soap&ga_search_type=handmade&ga_facet=handmade
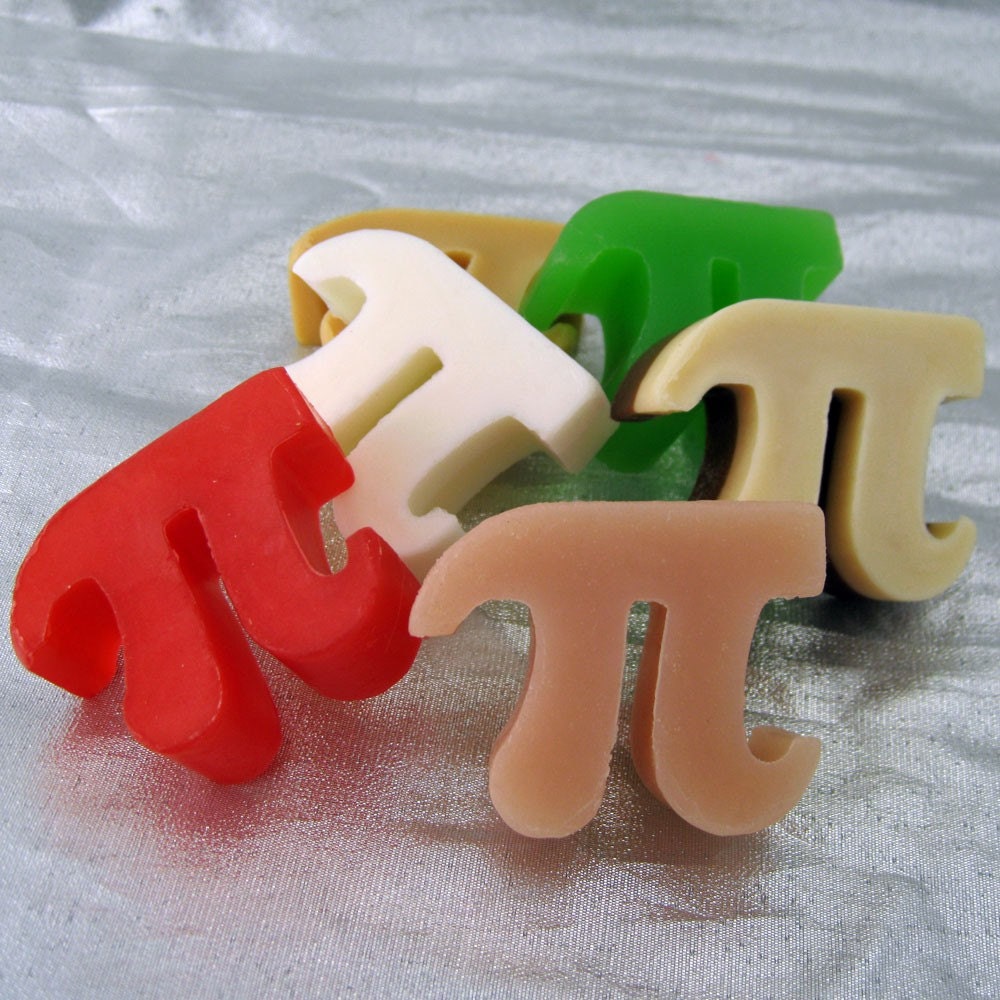 http://www.etsy.com/listing/62676066/attention-geeks-pi-shop-is-now-open-6?ref=sr_gallery_2&ga_search_query=math+soap&ga_search_type=handmade&ga_facet=handmade
http://www.etsy.com/listing/58215812/washy-worms-gummy-soaps?ref=sr_gallery_5&ga_search_query=worm+soap&ga_search_type=handmade&ga_facet=handmade
So head on over to Etsy and see what soap shapes you find. Let me know!
Therefore, let me share a little family secret. You can find soap in the shape of anything on Etsy. I know this because of countless hours of research I have put in (snicker) for my shop. Here are a few examples.
http://www.etsy.com/listing/65985044/soap-bots-we-come-to-you-from-the-future?ref=sr_gallery_10&ga_search_query=robot+soap&ga_search_type=handmade&ga_facet=handmade
http://www.etsy.com/listing/57457441/gooey-brain-cupcake-soap?ref=sr_gallery_3&ga_search_query=zombie+soap&ga_search_type=handmade&ga_facet=handmade
http://www.etsy.com/listing/59328852/raspberry-lemonade-handmade-and-natural?ref=sr_gallery_23&ga_search_query=popsicle+soap&ga_search_type=handmade&ga_facet=handmade

http://www.etsy.com/listing/58215812/washy-worms-gummy-soaps?ref=sr_gallery_5&ga_search_query=worm+soap&ga_search_type=handmade&ga_facet=handmade
So head on over to Etsy and see what soap shapes you find. Let me know!
Friday, April 8, 2011
Treasury!
Tea for Two Treasury by earthwisemporium
Take a peek at my Hello Kitty Mug Wrap featured along with some other really neat picks.
Take a peek at my Hello Kitty Mug Wrap featured along with some other really neat picks.
Thursday, April 7, 2011
Pick of the Day
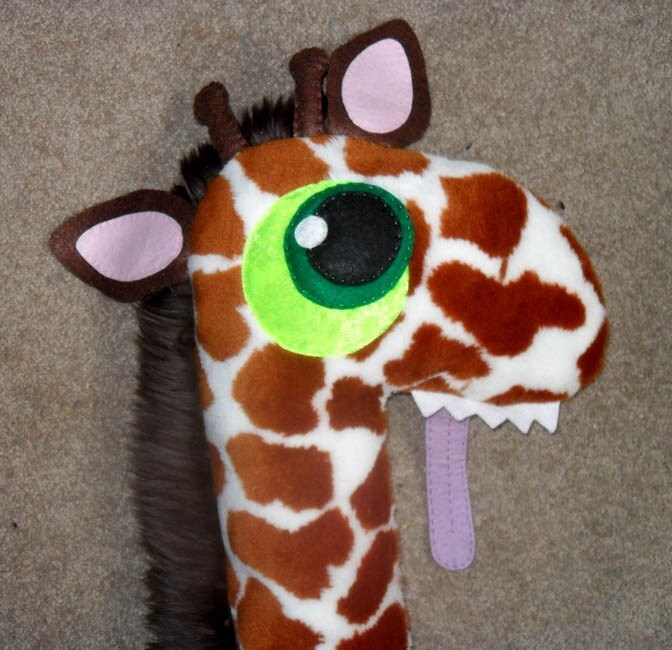
Today my 12 year old asked me to search "Zombie Giraffe" on Etsy. We found this guy. He is awesome. You can check him out for yourself at
http://www.etsy.com/listing/65594453/zombie-x-ray-giraffe-sale
http://www.etsy.com/listing/65594453/zombie-x-ray-giraffe-sale
Charlotte and Bethany's Nursing Cape
My sister, Charlotte asked me a few months ago if I'd ever heard of a Hooter Hider. Huh? It's been a while since I breastfed a baby (my youngest is 9) and I always just held a recieving blanket in my teeth while I hooked baby up and then draped it over my shoulder (hoping baby wouldn't rip it off, which they always did.)
So she asked me to make her one (she gave birth to her 4th a couple months ago), with boning in the neck (for eye contact with baby) and terry cloth corners to wipe away those milk dribbles that leak from the corners of baby's mouth. I did some research, bought some fabric and got to work.
And here is the finished project. It was quite easy. Now I need to get her burp cloths made. Oh, and I did a double layer of flannel instead of terry cloth for the corners. Flannel is soft and absorbent and much cuter than terry cloth. And you can also use the corners as little pockets.
I hope you and Bethany like it!
Wednesday, April 6, 2011
Giveaway!
Love Hate Reviews just wrote an AWESOME review of my shop. Click here to read it and to find out how you can win my fabric flour and sugar bags with matching towels and oven mitt!
http://lovehatereviews.com/love-threadbarestitcher-review-and-giveaway/04-06-2011/
http://lovehatereviews.com/love-threadbarestitcher-review-and-giveaway/04-06-2011/
 |
| Visit the link above for a chance to win this set! |
First Post Ever.
Today, out of sheer boredom (because I don't have anything better to do like sew for my shop or clean my house) I searched "Catnip" on Etsy. I thought maybe I'd find something for my cats and do a cool trade. I found lots of cool catnip toys and one that I would buy just because of the cat pictured playing with it. You should check it out for yourself.
http://www.etsy.com/listing/71262887/octopussy-hand-knit-felted-wool-cat-toy?ref=af_you_favitem
http://www.etsy.com/listing/71262887/octopussy-hand-knit-felted-wool-cat-toy?ref=af_you_favitem
Subscribe to:
Comments (Atom)
